ar oxygen sensors help maintain optimum engine performance and lower a vehicle’s smoke emissions. It is a lesser known part with great impact on a car’s running. Regular usage results in things like coolant and oil settling in the sensor and clogging it up. A clogged sensor will send the fuel injection computer improper voltage signals, thus reduce fuel efficiency and increase the output of harmful emissions. Regular cleaning makes sure that your engine is operating cleanly and efficiently.
The necessary items or tools you’ll need in the cleaning process include protective gear (strong rubber gloves, goggles and rubber apron), gas and gas can, WD-40, vehicle jack, container with a tight lid, wrench set and paper towels.
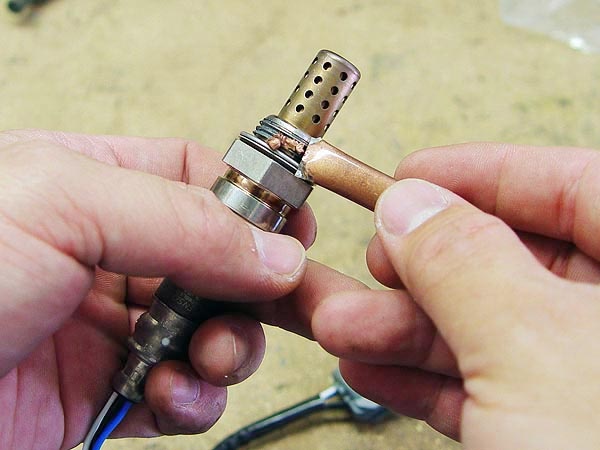
The cleaning procedure begins with the oxygen sensor removal. Jack up your car and apply the prepared protective gear. Then spray the sensors with WD-40 to help loosen the sensors. Allow it to soak in. Next, remove the sensors with the help of the wrench.
After the oxygen sensor is removed, now we can move on with the cleaning. Placed the sensors into a gas-filled container, make sure that it is completely submerged into the gas. Then place the lid on and tighten it. After a little swishing, put the sensors in the gas container for a night. The next morning, shake the container little more, and then with the goggles and other protective gear in place you can take the sensors out of the container. Wipe the sensors with paper towels to remove the excess gas and the stuck-on sludge and dirt. Before mounting it back on, you should let it dry completely.
Now you can reattach the sensors to the vehicle, use the reversed procedures as in the removing process. You may need a drive test to make sure your car engine is running smoothly.
Many people wondering whether an oxygen sensor test could damage it. The answer is always no as long as you don’t apply any sort of voltage to the sensor, otherwise the sensor can be fried.
The test way can be concluded in the following steps.
1. Warm your car up to the operating temperature.
2. Attach the positive lead of the voltmeter to the oxygen sensor output wire.
3. Connect the negative lead to a good engine ground, such as the engine block, or any bare metal on the vehicle’s chassis.
4. Set the voltmeter to look for 1 volt DC with the engine off. You should see a change in voltage on the meter, if not, check the wire connections.
5. Start the engine. Here we’ll take single wire sensors as an example. Let the engine run above 2000 rpm for a few minutes. If you see less than 0.2 and more than 0.7 volts and the value changes rapidly on your voltmeter, your sensor is good. If not, the results can fall into 3 situations- steady high, near 0.45 or steady low. If it is near the middle, you may need to run the engine above 2000 rpm again. If it is steady high, you can use the power brake vacuum supply hose to create a vacuum leak. If the voltage reads 0.2 to 0.3 or less and you can control it at will by opening and closing the vacuum leak, the sensor is usually good. If the situation doesn’t change, you can give it several tries to rule out other elements.
How to clean and test car oxygen sensors
by
Tags:
Leave a Reply