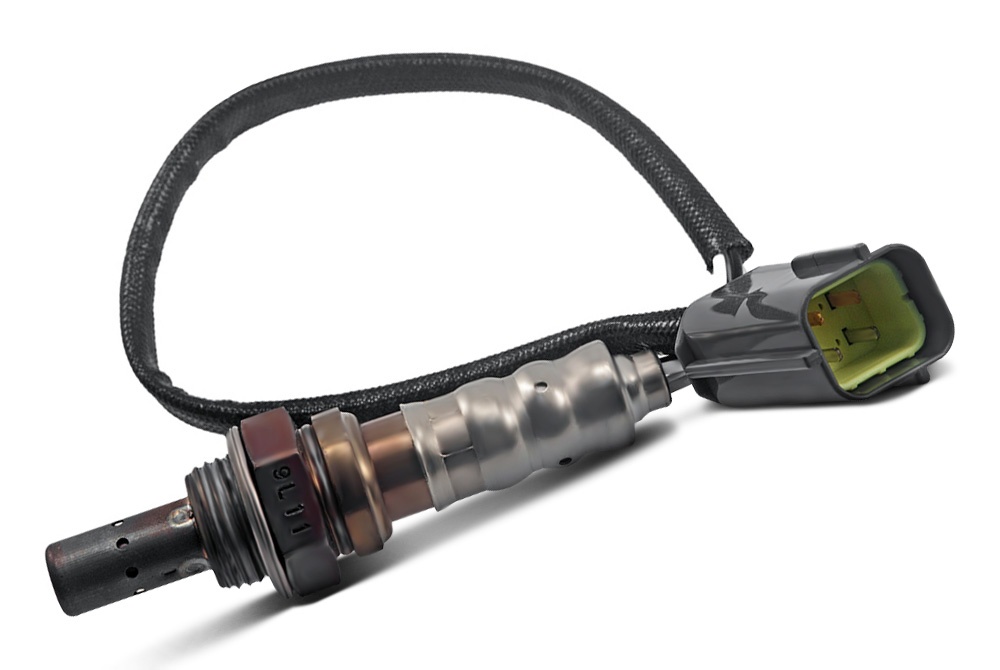
“Check Engine” light on may indicate a problem with your vehicle’s oxygen sensor. A handheld diagnostic scanner/reader will help confirm that it is the time to change the oxygen sensor. Different vehicles come with oxygen sensors of various numbers and locations. Usually, there will be between 2 and 4 O2 sensors located on your exhaust system-1 or 2 before the catalytic converter and possibly 1 or 2 after it. The diagnostic scanner/reader should tell you which bank of sensors needed to be replaced.
Steps
1. Locate the oxygen sensor on your vehicle by looking for a part that looks like a spark plug that sticks out from the exhaust pipe. It will have an electrical connection attached to it.
2. Disconnect the electrical connection on the oxygen sensor. Use a flat tip screwdriver to push in the tabs and pull the connection apart.
3. Unscrew the oxygen sensor off the exhaust pipe using either an open-end wrench or a special socket made to remove it. The majority of oxygen sensors will take an SAE 7⁄8 inch (2.2 cm) wrench.
4. Compare your new oxygen sensor to the old one. If the new one did not come with an electrical connection, but just with the wires stubbed out, you need to do a little work.
Cut off the old connector from the bad oxygen sensor, strip the wires and use butt connectors to attach it to the new oxygen sensor.
Use heat sensitive shrink tape to seal the connections.
Follow manufacturer’s instructions to know which wires to tie together.
5. Reverse the steps used in removing the oxygen sensor and install the new part. Screw it in place clockwise and snug it down with the socket or open-end wrench. Do not over tighten the sensor as you might strip the threads.
6. Plug the electrical connections back in.
7. Turn on the ignition key, but do not start your vehicle. Use the diagnostic scanner/reader to clear the code from the vehicle’s computer.
8. Start the car. You should notice an immediate improvement.

Oxygen sensor replacement guides
by
Tags:
