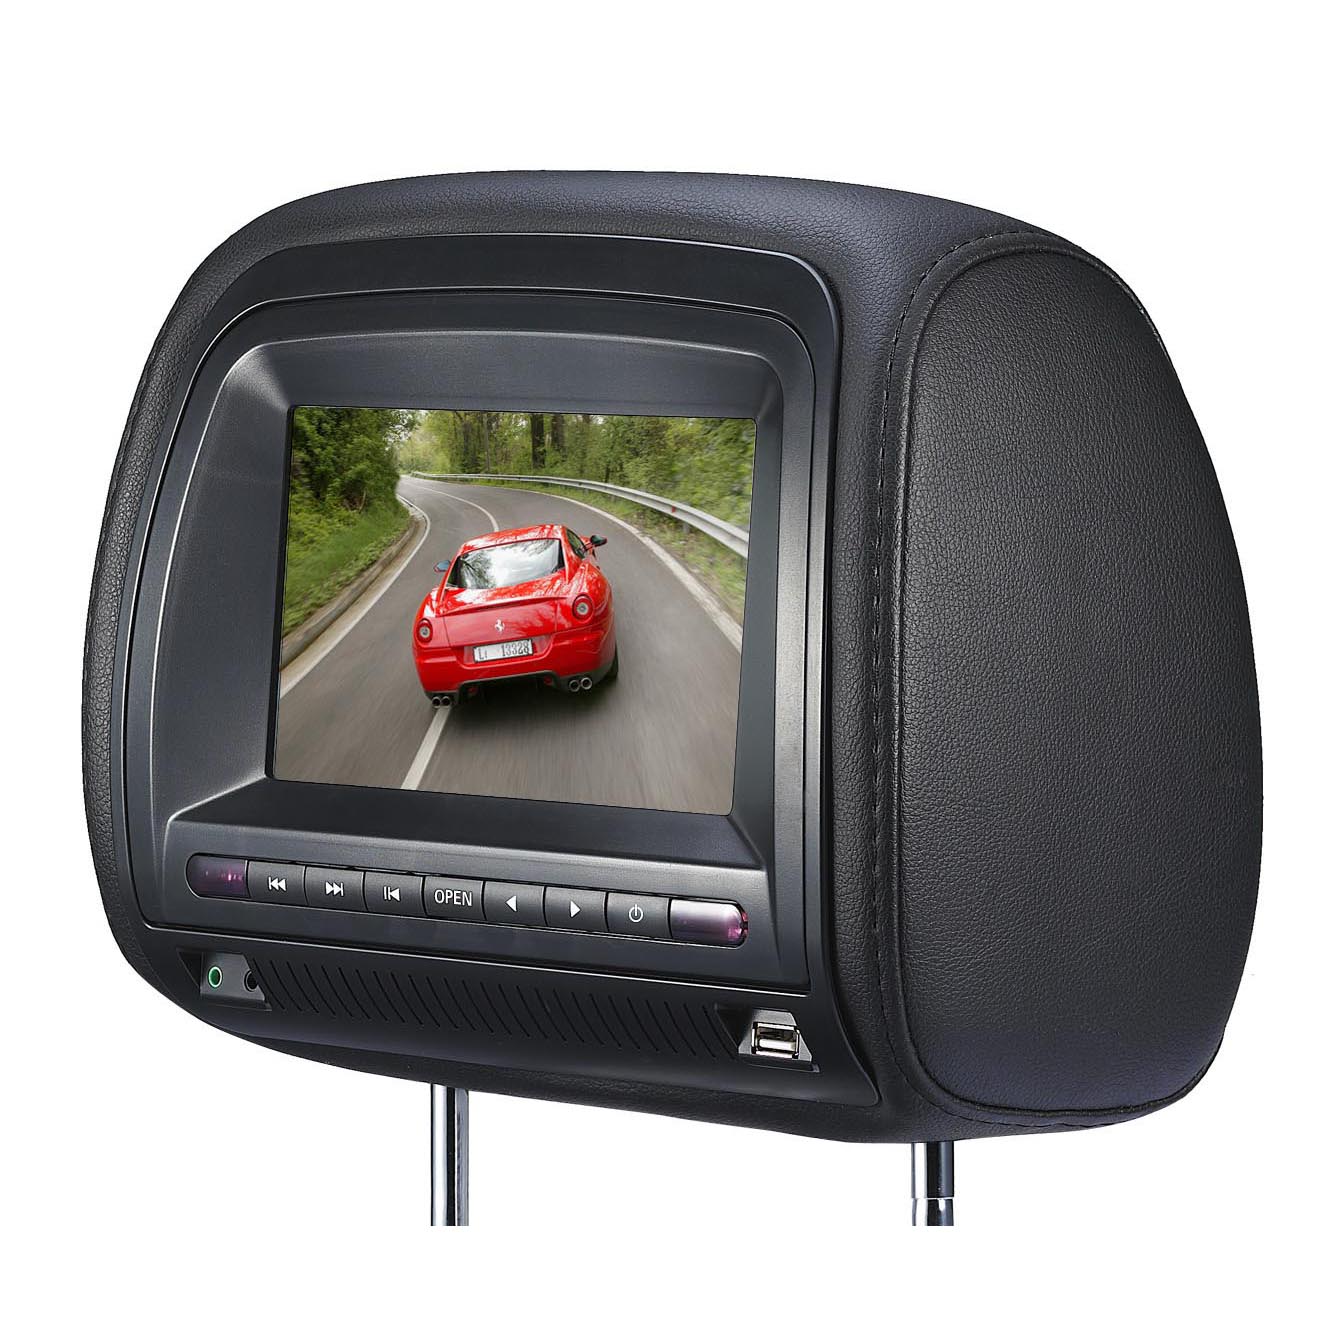
Music is everyone’s meat! So if you buy a new in-dash DVD player in the internet, what the steps of installing it? The steps depend on the type of player that will work with your car. If you have a faceplate stereo, for example, you can get a faceplate DVD player, take off the stereo, and connect the DVD in its place. Some car types will require you to completely install the DVD player in the radio’s place in the dashboard, and wire it to the car’s power. You might need professional assistance, depending on your vehicle type and what must be done to make the player fit in the dash.
Things You’ll Need: Wrench; Screwdriver; Trim stick
Instructions
1. Disconnect the battery on your vehicle by loosening the clamp on the black battery cable with a wench and removing the cable from its battery terminal.
2. Remove the trim panel surrounding the radio. Sometimes, you can just grasp and pull the panel off its clips. In many other cases, you must pay it off with a flat trim tool.
3. Remove the radio. The tools needed for the clips/fasteners can vary. Disconnect the wiring harness and antenna lead in the back.
4. Remove the steering column covers, usually by unscrewing the screws at the bottom with a screwdriver and separating the two halves, to access the wiring harness for the ignition switch/starter.
5. Feed the DVD’s constant power wire (usually the yellow one) through to the engine compartment; there should be a hole in the firewall. Loosen the cable clamp for the positive battery cable, fit the wire lead on the terminal, and tighten the cable.
6. Insert the DVD’s switched power wire — usually the red — into an available slot on the ignition switch’s wiring harness.
7. Mount the DVD’s black ground wire to a screw on the chassis — loosen the screw with a screwdriver, and place the wire lead under it — or a similar metal ground.
8. Install and fit the DVD player within the dashboard where the radio was, using its fasteners and your screwdriver/wrench. Reconnect the trim panels.
9. Reconnect the negative battery cable.

Do you have any idea on in-dash DVD player installation?
by
Tags:
