On earlier cars, radiators are made of copper and brass alloys; they could be repaired by soldering. Time changed so did the radiators. Radiators on later cars come with aluminum cores and plastic top and bottom tanks. Such radiators can be damaged by forcing off a hose or pressure cap, or overtightening a clip.
The damage is impossible for a home mechanic to repair, and usually the radiator must be replaced.
Aluminum does not dissipate heat as well as copper, so there have to be more fins on the core, which is therefore easily clogged by dirt thrown up from the road. Hose it clean at least once a year.
There is one advantage, however: lightweight radiators generally have simple fixings and are easy to remove.
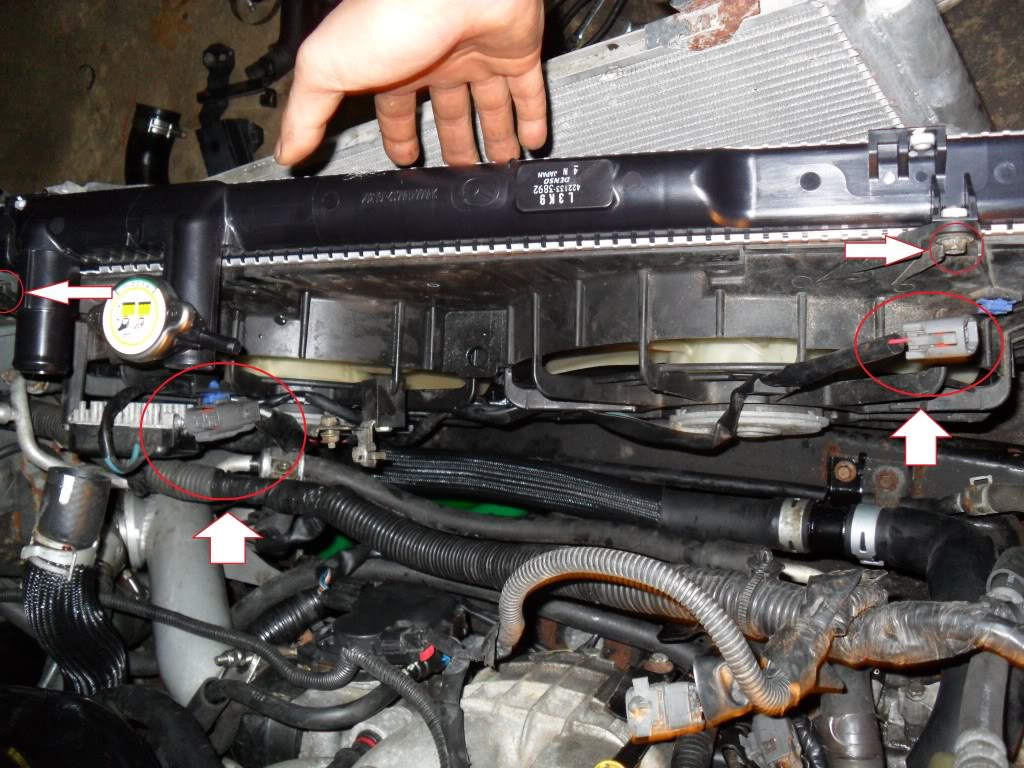
Disconnecting hoses and fittings on the radiator
Before you remove a radiator, check the hoses and clips. Buy replacements if the hoses are cracked or deteriorated, or if the clips are corroded. Always replace wire-type clips with screw clips.
If necessary, make notes or drawings of how all the radiator connections fit.
Apart from the top and bottom hoses, there may be pipes to an expansion tank, and electrical leads to a temperature gauge or automatic electric-fan switch, which must be disconnected.
An electric fan may be bolted to the radiator. Depending on the design, you either remove it to free the radiator, or remove it together with the radiator. Check with the car service manual.
With both electrical and mechanical fans, you may have to take off a fan cowl in order to free the radiator.
Some cars have a splash shield under the radiator, which must be removed. Cars with automatic transmission may have a gearbox oil cooler set in the bottom of the normal radiator, with screw-on unions for the oil pipes.
Disconnect the battery before starting to remove any radiator which has electrical connections. Then remove the pressure cap and drain the radiator.
Loosen hose clips and ease off the hoses by twisting them gently to and fro.
Do not try to lever off a hose with a screwdriver: you may damage both the hose and the radiator stub – particularly if the stub is plastic.
If a hose is stuck fast, slit it at the stub end with a sharp knife and renew the hose. Unfasten any electrical connections and check that they are clean and sound.
Before you unscrew any oil-pipe unions (used on automatic-transmission radiators) have a container ready to catch the oil. Do not use the oil again – top up the transmission with fresh oil afterwards.
Seal disconnected oil unions, both on the radiator and on the pipes, with polythene bags and rubber bands to keep out dirt.
When you refit the oil unions take great care not to get the nuts cross-threaded, and tighten them well to prevent leaks.
Unscrew the radiator mounting bolts and ease the radiator out, removing such parts as may be necessary to clear the way.
Remember the order in which you removed them, so that you can reverse the sequence when refitting Take care not to crush the soft metal radiator fins or otherwise damage them or the fan blades.
When refitting hoses, tighten the clips firmly but not too much overtightening could cause the clips to cut the hoses or crush the plastic stubs to which they are sometimes fitted.
A typical radiator
On most modern cars the radiator has four side mountings and a top and bottom hose. The electric fan may be bolted to a fan cowl and enclosed, particularly on some transverse-engined cars where the radiator is mounted at the side of the engine bay.
Find car radiator hard to remove? Read this
by
Tags: