Car tinting is the process of applying a sheet of film onto the surface of a car window. Actually, nearly all tinting film used in automotive trade is made of two layers of tinted polyesters. You should especially bear this in mind when you want to remove it. Because this is the difficult thing about cat tint remove. Sometimes when you try to pull it off, the top layer will usually pull right off leaving the second layer behind.
Just like all the other things in the world, all window film deteriorates with age. We can tell ‘purple film’ and the ‘bubbling film’, the two of the most common symptoms of dying film. Purple film is a film purple in color. It is caused by non-metallic dyes in the film breaking down and changing color. Bubbling film is a sign that the adhesive used to apply the tint to the window is failing. The air seeps in and bubbles created in the film.
Learning how to remove car window tint film is not as daunting as you might think. Although some people suggest that it should be best carried out by a professional and some even warn removing car window tinting by oneself will run a high risk of damaging one’s car. Sure, car window tint film remove certainly is a challenging task and is not as easy as it looks, however, with proper preparation, you can take the tint off at home rather than a costly trip to the auto shop and ultimately, this can save you a significant amount of money in the long run. Even though you don’t want to bother yourself with all the trouble and trust the technician with the work, knowing the procedure will help you look not so an outsider during the course of communication.
You will need some important tools and materials for the job. They include 2 black garbage bags, tape, ammonia, spray bottle, razor blades, dish soap, water, fine steel wool, window cleaner and paper towel.
The process is simple to understand and follow, yet it needs your carefulness if you want to do a good job. It is better to do on a sunny day in a place where you have access to a garden hose or water spout. There is more than one method to perform the removing job. Here, we’ll go with one of them, and take the rear window tint as an example, hope it will help you.
The method used is sun and ammonia. You need to carry out this method on a sunny day. There are generally six steps to complete it. At the very beginning, please clean the window area. Clear both the exterior and interior sides for any attachments, like debris or stickers.
The six steps respectively are:
1. Cut the two black garbage bags open, and make sure they are roughly the shape of the rear window. Then spray some soapy water on the outside of the window and cover it with one of the black trash bags and smooth it flat. After this, stick some tape on the edge of the bag in case of wind blowing.
2. Cover all inside surfaces near the rear window with a tarp to protect your interior from the probable damage from ammonia. You are required to wear a mask, because the ammonia fumes are harmful to human body.
3. Spray undiluted ammonia over the entire interior surface of the rear window tint. Then quickly trap the ammonia against the window film with another trash bag, attach the bag edges to the window edging with masking tape. The sprayed ammonia will help the film to be peeled off later on.
4. Face your rear window to the sun and let the sun do the heat-up work. Park it in such a position up for 1 hour.
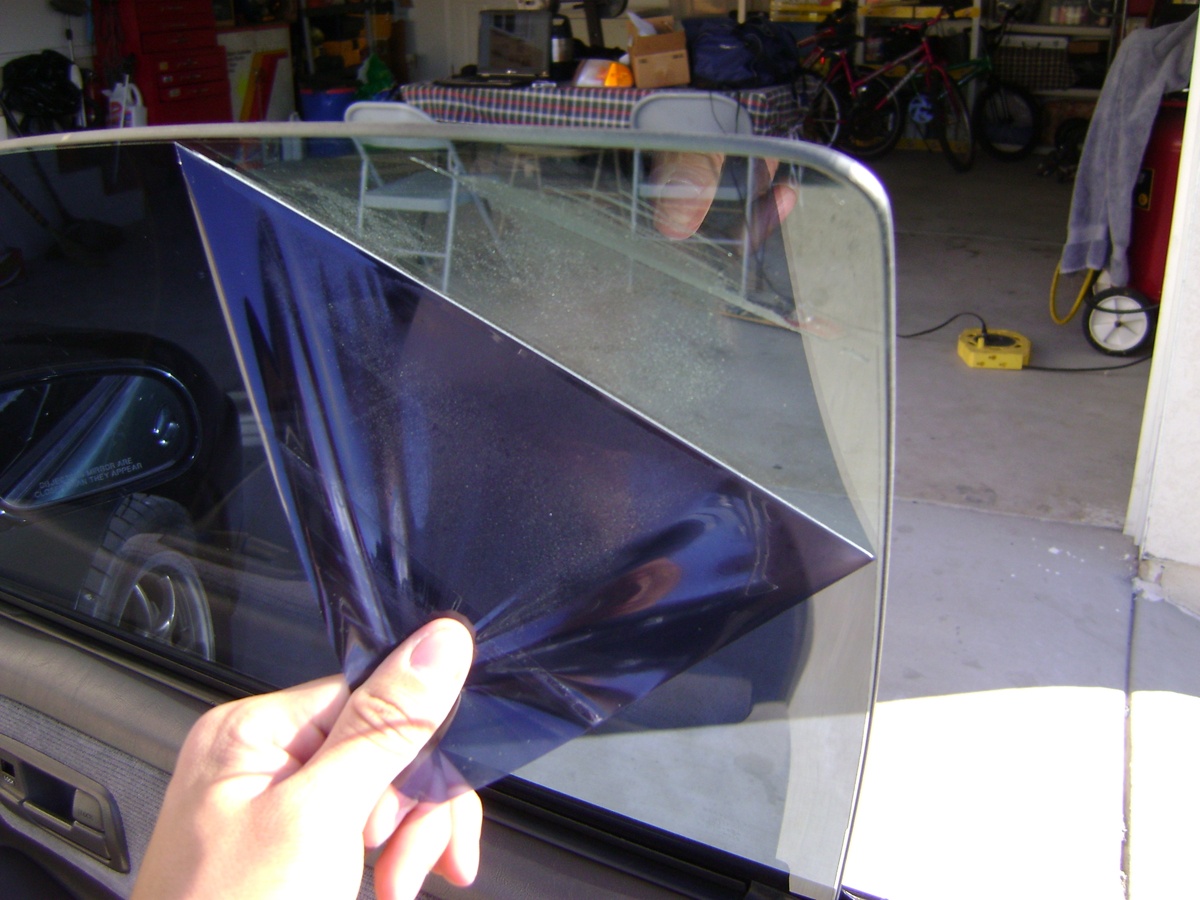
5. Start to peel the window film from a corner of the window using the razor blade. Lift the film and try to peel the film off in one entire sheet. At the same time spray some ammonia to prevent the tint from dry.
6. Remove any residual adhesive using ammonia and fine steel wool, and then wipe the area with a paper towel before it dries and sticks to the window again. Wash the whole window thoroughly with glass cleaner.
Things to bear in mind to facilitate car tint removal
by
Tags: