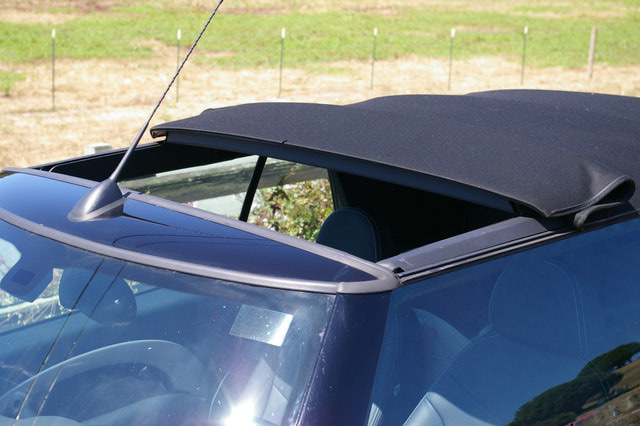
Sunroofs are a popular feature included in some models of automobile. When not installed at the factory, special aftermarket kits are available to install power sunroofs in your car without the help of a professional shop. The kits include detailed templates custom-tailored to your make and model of car to ensure that any cuts into the roof occur in the right place. You will need several power tools, but no further expenses are required beyond the kit.
Instructions
Making Room for the Sunroof
1 Follow the sunroof kit’s directions to measure, mark and tape off where on the car roof the template should be laid.
2 Flatten the template completely over the roof, making sure to smooth out any creases.
3 Cut out the areas designated on the template with a hobby or other single-edged knife. Trace around the inside edges of these areas with a marker.
4 Locate the six holes marked at the front of the template for the wind deflector, and drill just through them just enough to penetrate the exterior without harming the interior lining.
5 Remove the template, then drill a larger, pilot hole inside of the area you traced.
6 Starting at and using this pilot hole, cut out the traced section of the metal exterior with a saber saw, a “nibbler”, or, alternatively, a die grinder. Carefully peel the sheet of metal away from the support ribs underneath and discard it.
7 Cut each of the exposed ribs along the newly cut roof edge with a die grinder and discard them as well.
8 Use screwdrivers to detach and remove any lights mounted to the interior ceiling where the sunroof is to be installed, then unplug them.
9 Hold a permanent marker against the inside edge of the roofing section you cut out and trace around it onto the headliner.
10 Use a utility knife or box cutter to cut out the traced section of headliner to match the roofing as closely as possible.
11 Lay 3/4-inch tape around the outside of the headliner. Use this tape as a guide as you cut around the outsides of the tape to remove an addition 3/4 inch from each side of the headliner.
12 Remove an additional 3/4 inch from each of the ribs to match the headliner, using a die grinder or sabersaw from underneath.
13 Remove burrs from the edges cut out of the roof with the die grinder.
14 Starting with the front strip, apply the strips of protective foil from the sunroof kit to the roof of the vehicle. Place them flush with the cut edges without creases or wrinkles.
15 Use the special sealing washers, nuts and bolts to attach the front wind deflector, leaving the nuts untightened.
Installing The Sunroof
1 Carefully lower the sunroof into the cutout section of the roof. Take special care not to dent the exterior.
2 Remove the cap on the “A” pillar, the structural beam supporting the roof on the driver’s side of the windshield.
3 Route the wiring for the sunroof’s motor down the pillar to underneath the dash.
4 Use a screwdriver to remove both of the retaining screws from the sunroof motor. Ensure that the motor can be slid between the metal skin of the outer roof and the interior lining.
5 Push the frame for the front clamp into place at the front of the cut-out headliner, then screw in the motor fastening screws from the sunroof kit.
6 Hold the frame for the rear clamp in place at the other end, then screw down and tighten the accompanying nuts from the kit onto each of the stay bolts.
7 Push the side frames on and screw them in place using the screws provided in the kit. Avoid driving screws into holes covered by labels at this point.
8 Hold the trim frame supports in position so that the upwardly-flanged nose engages the gap between the main frame and the clamping frame. Screw them in place with the kit’s fastening screws, tightening each one equally.
9 Connect the sunroof’s switch to the wiring loom and test it.
10 Close the sunroof and adjust the wind deflector before tightening down the nuts on it.
11 Lay the wire for the switch in the gap at the front as you fit the front trim cover in place.
12 Open the sunroof completely, then hold the rear and side trim covers as you push in the fasteners from the kit to attach them in place.
13 Start at the middle of the rear edge and push the edge protection bumper into place all around the sides. Trim excess with wire cutters.

How to Install Aftermarket Sunroofs
by
Tags:

Leave a Reply